On this page
Microscape
Starting a moss bottle
A moss bottle is a miniature forest—below: how to build from scratch with containers, layered substrate, moss species selection, plus humidity, light, and first weeks care.
What is a moss bottle
A moss bottle (or moss jar) is a miniature ecosystem using glass containers to grow moss, ferns, and small foliage plants. Containers can be completely sealed (closed lid creating self-cycling moisture) or open (exposed opening or mesh cover). Moss bottles are a branch of microscapes—emphasizing small spaces, slow pace, and close observation of plant growth.
Why build a moss bottle? Moss doesn't need soil, only moist substrate and stable humidity, making it ideal for sealed or semi-sealed glass environments. Compared to traditional pots, moss bottles require little space, simple care, and long observation cycles (moss grows slowly, sustaining months or even years). For beginners, moss bottles are the best starting point for microscapes—no complex equipment needed, no frequent watering.
Moss bottle ≠ succulent jar: Moss prefers high humidity (relative humidity 70–90%), while succulents prefer low humidity and good ventilation. Don't mix succulents and moss in the same sealed jar—succulents will rot, moss will dry out.
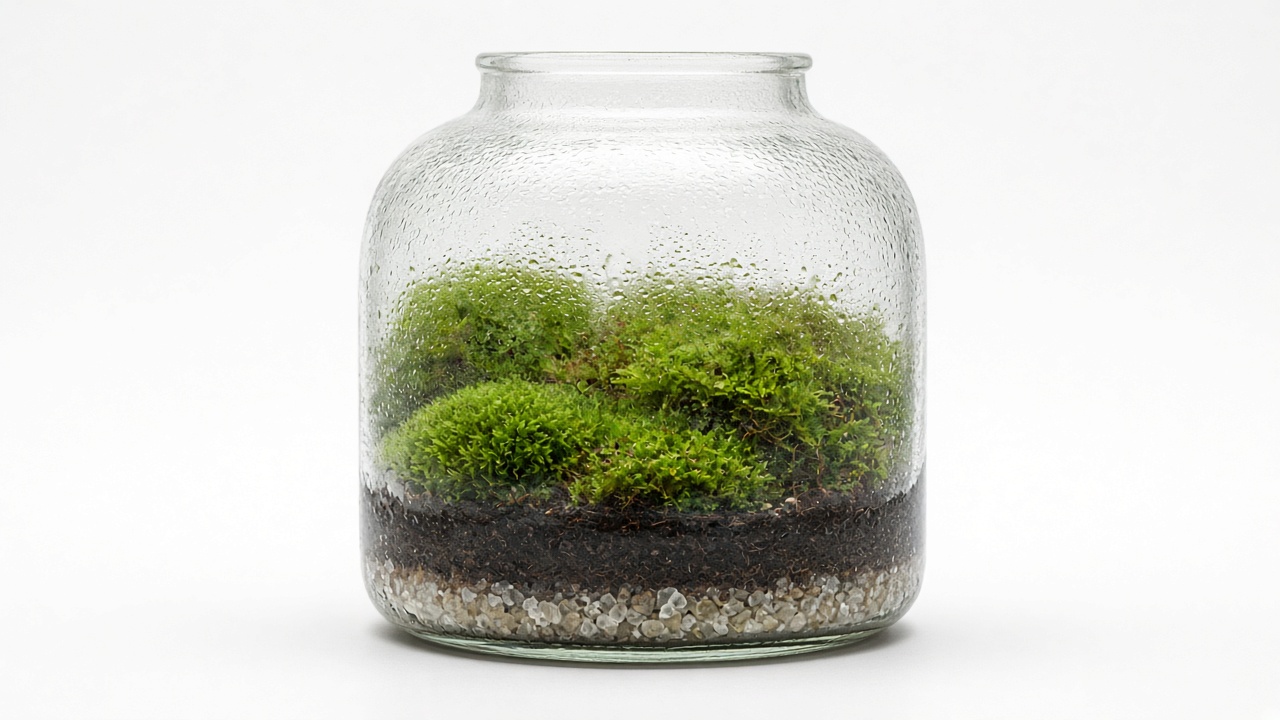
Choosing containers: shape, opening, size
Container choice determines moss bottle care difficulty and aesthetic effect. Below are common container types and selection guidance:
Sealed jars (closed lid)
Beginner-friendly. After sealing, moisture self-cycles inside (evaporation → condensation → return), requiring almost no watering. Common containers: glass mason jars, lidded glass candy jars, lab reagent bottles.
Pros: Simple care, stable humidity, suits moisture-loving moss (like white cushion moss, sheet moss); can remain closed for weeks or months.
Cons: After sealing, excess water easily accumulates, causing substrate mold; requires initial humidity adjustment (open lid a few hours for ventilation).
Opening size: Wide-mouth jars (diameter > 8 cm) easier to plant and maintain; narrow-mouth bottles (diameter < 5 cm) require tweezers and long-handled tools.
Open jars (exposed or mesh cover)
Advanced keepers. Opening exposed or covered with mesh (breathable, not sealed), moisture gradually evaporates, requires regular misting. Common containers: open glass bowls, vases, fish tanks.
Pros: Good ventilation, less prone to mold; can mix plants preferring medium humidity (like small ferns, nerve plant).
Cons: Requires frequent misting (every 2–3 days); humidity fluctuates more, moss easily dries out.
Suitable environment: Indoor areas with higher humidity (relative humidity > 60%); or place near a humidifier.
Container size recommendations
- Beginner recommendation: 500–1000 mL glass mason jars—wide opening, moderate capacity, good seal, affordable.
- Advanced keepers: 2–5 L large glass jars or fish tanks—more space for mini props and landscaping, more moss variety.
- Avoid: Mini bottles < 300 mL—too small, humidity fluctuates greatly, moss easily dries; extremely narrow openings (< 3 cm)—planting and maintenance extremely difficult.
Substrate layers: drainage, retention, anchoring
Moss bottle substrate requires layered placement—bottom drainage, middle retention, top anchoring moss. Layering prevents waterlogging while keeping the surface moist. Below is a standard layering plan (for 1000 mL container):
First layer: Drainage (2–3 cm)
Material: Leca (clay pellets), lava rock, gravel, perlite.
Purpose: Bottom drainage preventing excess water accumulation that causes substrate mold.
Placement: Pour directly into container bottom, level. Leca or lava rock diameter 0.5–1 cm works; don't use fine sand (clogs drainage).
Second layer: Retention (3–5 cm)
Material: Peat + perlite (2:1 ratio), or sphagnum moss (compressed).
Purpose: Water retention maintaining stable moist environment for moss.
Placement: Mix peat and perlite then spread over drainage layer, lightly compress (not too tight, retain airflow). If using sphagnum, pre-soak, squeeze out excess water, spread as thin layer (2–3 cm).
Third layer: Top substrate (1–2 cm)
Material: Akadama soil, fine sand, bark chips, decorative stones.
Purpose: Anchor moss, aesthetics, isolate retention layer (avoid exposed peat surface molding).
Placement: Thin layer of akadama or fine sand, smooth with small spoon. For natural landscape, use bark chips and small stones to create elevation changes.
Layer thickness summary
| Layer | Material | Thickness | Purpose |
|---|---|---|---|
| Drainage | Leca, lava rock | 2–3 cm | Drain, prevent rot |
| Retention | Peat + perlite | 3–5 cm | Water retention |
| Top | Akadama, fine sand | 1–2 cm | Anchor, aesthetics |
Total thickness: 6–10 cm (1000 mL container). Large containers (2–5 L) can increase each layer thickness (drainage 4 cm, retention 6–8 cm).
Moss species: moisture-tolerant, shade-tolerant, growth rate
Many moss species exist, but not all suit bottle landscapes. Below are common species and selection guidance:
White cushion moss (Leucobryum)
Beginner's choice. White-green rounded cushions, fluffy texture, moisture-tolerant, shade-tolerant, slow growth. Suits sealed and open jars.
Pros: Easy care, mold-resistant, high aesthetic; can place whole clumps without breaking apart.
Cons: Extremely slow growth, months to see obvious changes; slightly expensive.
Light: Diffused light works; avoid direct sun (leaves yellow).
Sheet moss (Hypnum)
Classic bottle moss. Dark green sheets, moderate growth, moisture-tolerant, shade-tolerant. Suits sealed jars.
Pros: Fast coverage, can carpet entire surface; affordable.
Cons: In sealed jars, excess water easily causes yellowing; requires periodic ventilation (1–2 times weekly, 1 hour each).
Light: Diffused light or artificial supplementation (LED, 6–8 hours daily).
Fern moss (Thuidium)
High aesthetic. Feather-like branches, strong three-dimensional feel, emerald green. Suits open or semi-open jars.
Pros: Beautiful form, suits foreground or midground; moderate growth rate.
Cons: High humidity requirements (relative humidity > 80%), open jars need frequent misting; sealed jars prone to waterlogging and mold.
Light: Bright diffused light, avoid strong direct light.
Sphagnum moss
Moisture champion. Light green or yellow-green, extremely absorbent (can absorb 20 times its weight in water). Usually used as retention layer, can also decorate surface.
Pros: Extremely water-retentive, suits high-humidity plants; cheap, readily available.
Cons: Moderate aesthetics; in sealed jars, excess water easily causes mold.
Use: Recommend as retention layer material.
Moss selection advice
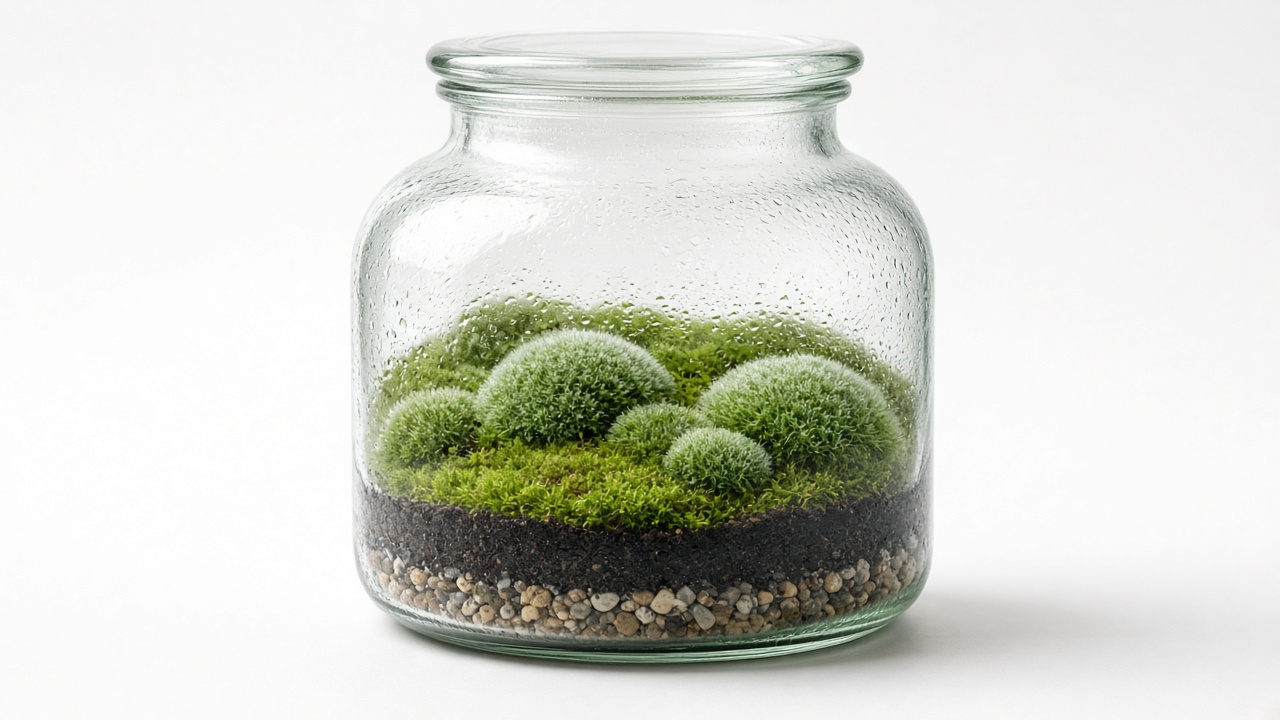
- Beginner combo: White cushion moss (main) + sheet moss (carpet)—white cushion forms small mounds, sheet moss carpets surface; sealed jar, simple care.
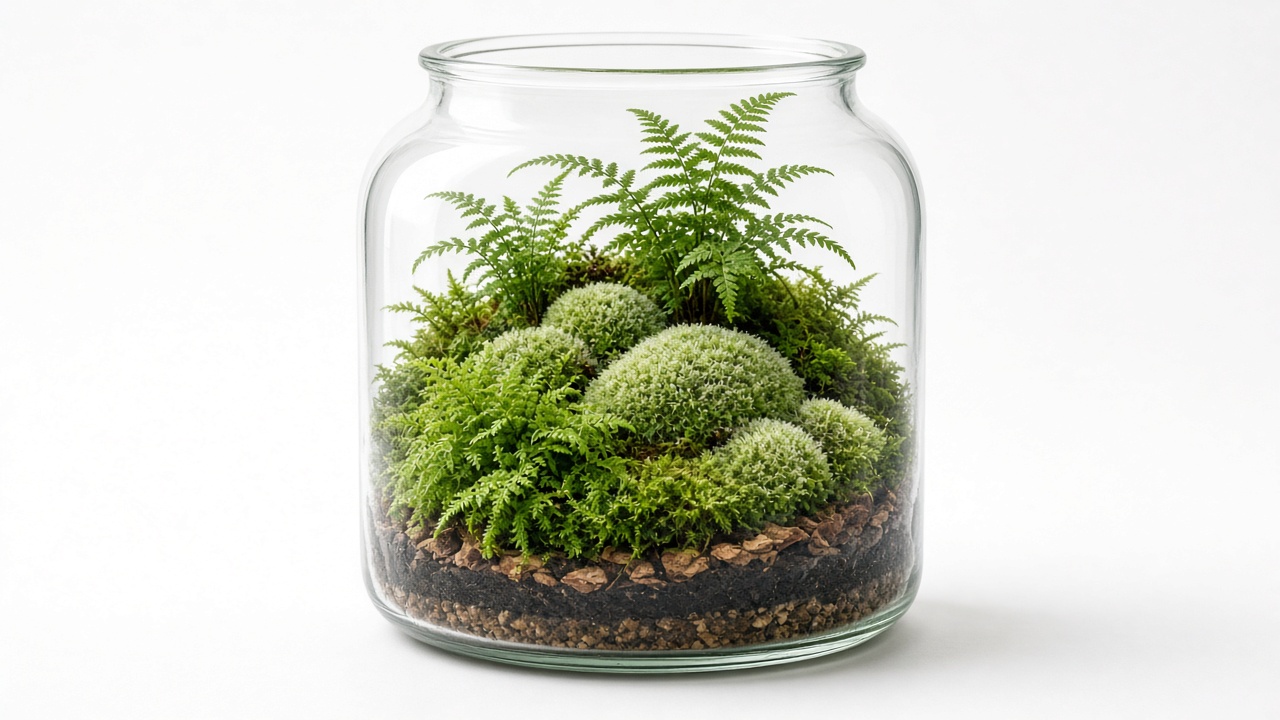
- Advanced combo: Fern moss (foreground) + white cushion moss (midground) + small ferns (background)—open or semi-open jar with humidifier, higher aesthetic.
- Avoid: Roadside wild moss (may carry insect eggs or pathogens); dried yellowed moss (difficult to revive).
Humidity and light: sealed vs open jars
Moss bottle humidity and light management varies by container type. Below are differences between sealed and open jars:
Sealed jars: high humidity + diffused light
Humidity: After sealing, container relative humidity auto-maintains at 80–95%. Initially may show heavy condensation on walls—this is normal, indicating excess humidity. Solution: open lid for 1–2 hours ventilation, let excess moisture escape, then reseal. Goal is light mist on walls, not large drips flowing down.
Light: Diffused or bright indoor light works (1–2 meters from window). Avoid direct sun—sealed jars in sun become "steamers," temperature spikes, moss cooks to death. If indoor light insufficient, use LED supplementation (color temperature 5000–6500 K, 6–8 hours daily).
Watering: Sealed jars almost never need watering. Only when walls completely clear of mist and substrate surface dry, mist lightly (2–3 sprays only).
Open jars: medium humidity + bright diffused light
Humidity: Open jar humidity gradually drops to 60–70% (depends on indoor environment humidity). Requires misting every 2–3 days, keeping substrate surface moist (finger press feels damp but not waterlogged). If indoor humidity < 50%, recommend covering opening with mesh (retains airflow while slowing moisture evaporation).
Light: Bright diffused light (0.5–1 meters from window), or artificial supplementation (LED, 8–10 hours daily). Open jars ventilate well, can handle slightly stronger light, but still avoid direct sun.
Watering: Use mist bottle to spray evenly until substrate surface moist (not to waterlogging). If substrate bottom waterlogged, misting was excessive—open lid for ventilation several hours, let excess evaporate.
First weeks care: observe, adjust, stabilize
After building moss bottle, first 2–4 weeks are adjustment period—observe humidity, light, moss condition, adjust promptly. After stabilizing, enter maintenance period (sealed jars need no management for months; open jars mist 1–2 times weekly).
Week 1: Initial humidity adjustment
Symptoms:
- Sealed jar: Heavy condensation on walls, drips flowing, substrate surface waterlogged.
- Open jar: Substrate surface dries quickly, moss leaves start curling.
Actions:
- Sealed jar: Daily lid opening for 1–2 hours ventilation, let excess moisture escape. Continue 3–5 days until walls show only light mist (no dripping).
- Open jar: Daily misting once (morning or evening), keep substrate surface moist. If indoor humidity < 50%, cover opening with mesh.
Weeks 2–3: Observe moss condition
Normal signs:
- Moss color emerald green, leaves spread, some new shoots emerging (white cushion moss tops sprout tender green new leaves).
- Sealed jar walls show light mist, no dripping; open jar substrate surface stays moist.
Problems + solutions:
- Moss yellowing, blackening: Excess water or light too strong. Solution: open for ventilation, reduce watering; move to dimmer position.
- Moss drying, curling: Insufficient humidity or light too strong. Solution: increase misting frequency; move to diffused light position; reseal sealed jar.
- Substrate surface molding (white mycelium): Insufficient ventilation or organic matter rotting. Solution: open for ventilation, use tweezers to remove rotting material; reduce watering frequency.
Week 4 onward: Enter stable period
Sealed jar: If wall mist stable (no dripping, not completely dry), can remain sealed long-term, weeks or months without opening. Only check monthly—if walls completely dry, mist lightly then reseal.
Open jar: Enter regular care rhythm—mist every 2–3 days, check substrate moisture weekly. If moss grows too dense, trim with tweezers (cut overly long branches, maintain tidy landscape).
Common mistakes
Overwatering (sealed jar):
- Symptom: Large drips on walls, substrate surface waterlogged, moss yellowing and blackening.
- Cause: Initial water excess, after sealing moisture cannot escape.
- Solution: Open for 3–6 hours ventilation, let water evaporate; use tissue to absorb excess surface water; after resealing observe 2–3 days.
Light too strong:
- Symptom: Moss leaves yellowing, curling; white cushion moss turns yellow-green.
- Cause: Container in direct sun, temperature excessive (> 30°C).
- Solution: Move to diffused light position (1–2 meters from window); summer avoid midday sun.
Ignoring ventilation (sealed jar):
- Symptom: Substrate surface molding, moss bottom blackening and rotting.
- Cause: Sealed too long, no air circulation, organic matter rotting produces pathogens.
- Solution: Monthly lid opening once (1–2 hours each); use tweezers to clean rotting material; check substrate for excess water.
The core of moss bottles is stable humidity + gentle light + patient observation—don't disturb frequently, let moss slowly adapt in stable environment. For container selection, see above; for substrate layering, see above. To preview the finished look, open the microscape studio and generate an image.
Details to add? Tell us via Contact.
2026-10-11